What is the right way of disinfecting your facilities?
This article provides a clear guide for disinfecting your facilities from start to finish and continuing on in the future with preventative maintenance.
To put your facility occupants and management at ease, you need to have a proper plan and execution process for disinfecting your facility. Make sure you’re following the evidence-based infection control guidelines provided by the ODC, EPA, FDA and GBAC® agencies.
We’ve broken the process down into 5 steps.
Preparation
Method Selection
Infection Control
Critical Touch Points
Task Documentation
Disinfection Services NYC by Advantage Cleaning
Preparation (Site Assessment & PPE)
To execute a successful disinfection you need to be fully prepared. We break this down into 3 components: identifying hazards, process planning and personal protective equipment (PPE)
Identify Hazards
You don’t want anyone or anything to get injured or damaged during your process; as well as voiding the efficacy of your disinfectant. Here’s 3 categories of hazards to consider:
- Biological
- Infectious diseases (like COVID 19), molds, toxins, poisonous plants and animal materials
- Chemical
- Chemicals, toxic substances, pesticides, heavy metals
- Physical
- Sharp surfaces, heights, structural issues, hot/cold surfaces, noise and electrical concerns.
Make sure to incorporate these hazards into your work plan so there’s no surprises.
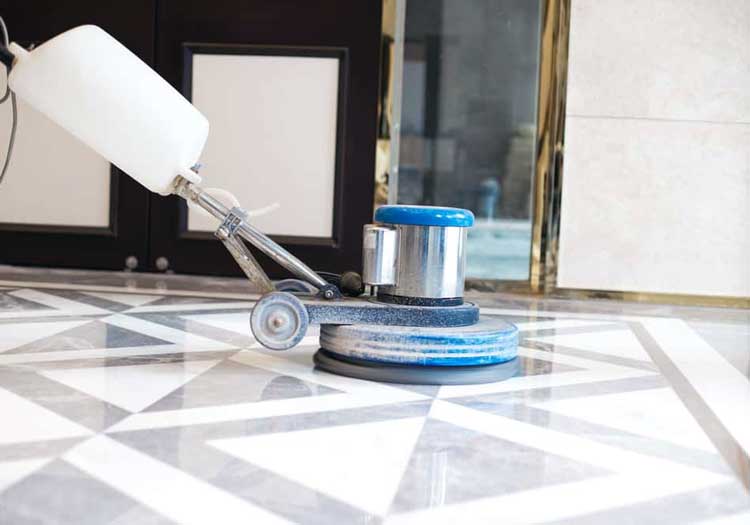
Plan your disinfection process
- Work Zones
- Clear zone – an area outside of the facility being cleaned that can be occupied if needed to exit the facility
- Transition Zone – zone for staging chemicals and equipment
- Operating Zone
- Chemicals
- General Purpose cleaners, degreasers, glass cleaner, bowl cleaner
- Disinfectant (surfaces and floors)
- Equipment required
- Rags, microfiber cloths, toilet bowl brush, scrub brush, wet floor signs
- Vacuum with attachments, vacuum bags, broom, dust mop, dust pan and autoscrubbers
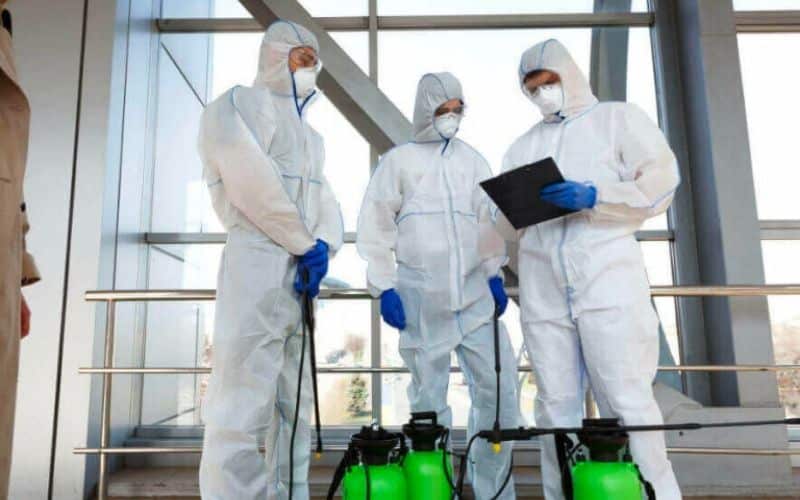
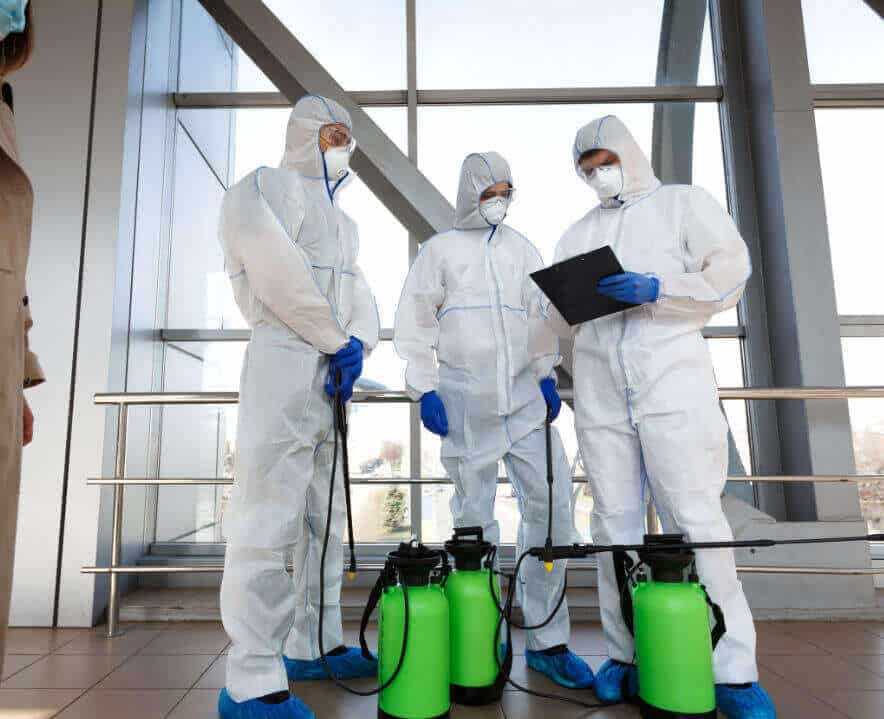
Proper Personal Protective Equipment (PPE)
- Corrective Disinfection (KNOWN contamination/infection present)
- N-95 surgical mask or powered air respirator (PAPR)
- Eye protection
- Disposable gown
- Gloves
- Shoe covers
- Preventive Disinfection (No KNOWN contamination/infection present)
- Surgical mask (prevent contact between face and hands)
- Eye protection
- Gloves
Follow proper guidelines of applying and removing personal protective equipment (PPE). Here are some resources for PPE guidelines >>>

Choosing Application Method and Disinfectant
How you apply a disinfectant can be just as important as the disinfectant itself. For any disinfectant to be effective, the surface must remain wet for the entire prescribed contact time.
These devices should always be used at a coarse spray setting to proved the wettest spray possible Application Method Guide >>>>
- Trigger Sprayer
- Pump up sprayers
- Electrostatic sprayer
- Backpack sprayers
- Floor washers
NOTE: Foggers and misters are not recommended for disinfection because they do not cover the proper amount of area to wetness ratio for this application.
Here’s a video showing the various application methods
Proper Infection Control Procedures
Because employees spend the majority of their day at their office desks, it’s important to keep these areas as clean as possible to keep them in good health and good spirits. Dust and germs can collect on personal desks right in front of their faces for 8 hours every day. To get the most effective cleaning on a daily basis, all desks should be tidied up by the employee, with as many personal effects removed as possible.
Hard (Non-Porous) Surfaces
- Read and follow the manufacturer’s instructions for all cleaning and disinfection products, especially with regard to concentration, application method, contact time, etc.
- The CDC recommends pre-cleaning surfaces before applying disinfectant.
- Apply a solution of properly diluted (if applicable) disinfectant with a sponge, brush, cloth, mop, auto scrubber, mechanical spray device, coarse pump or trigger spray device. For spray applications, spray 6–8 inches from surface. Do not breathe spray.
- Treated surfaces must remain wet for the required time period as noted on the disinfectant label.
- Allow to air dry or wipe the surface with a clean cloth or towel. If disinfecting a floor, pick up excess solution with an auto scrubber, vacuum, or mop. Always clean out equipment and allow it to air dry after disinfecting.
- Prepare a fresh solution daily or when the solution becomes visibly dirty.

Soft (Porous) Surfaces
No disinfectant can claim to disinfect soft surfaces. You may, however, sanitize with an EPA-registered soft surface sanitizer according to label directions.
- Remove visible contamination if present and clean with appropriate cleaners indicated for use on these surfaces before applying disinfectant OR laundering
- Applying disinfectant:
- Mix disinfectant at a dilution rate of ½ ounce per gallon of water. Apply solution with a sprayer 6–8 inches from the surface and spray until the fabric is wet.
- The fabric must remain wet for 5 minutes.
- Allow fabric to air dry.
- Laundering:
- If items can be laundered, launder them in accordance with the manufacturer’s instructions using the warmest appropriate water setting.
- Dry items completely.
- In order to minimize the possibility of dispersing germs through the air, do not shake dirty laundry.
- Clean and disinfect hampers or other carts for transporting laundry according to guidance above for hard or soft surfaces.
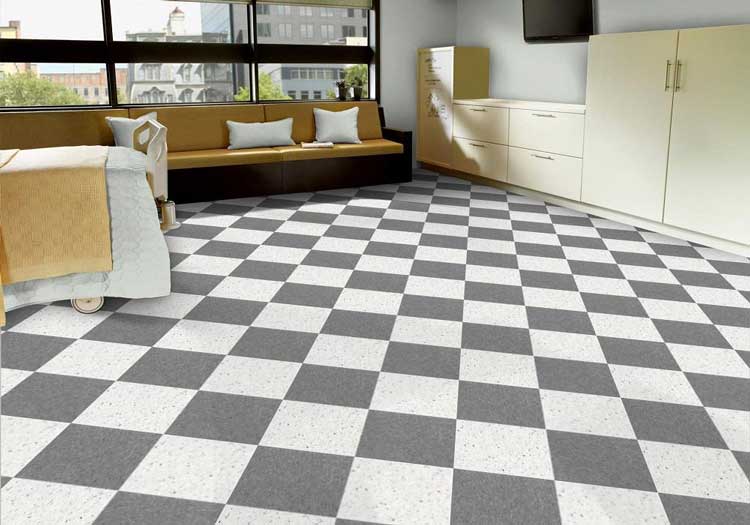
Floor Care Disinfectant
Recommended for use on VCT, LVT, or other non-porous coated floor types.
- Use an EPA registered disinfectant from EPA List N
- Use the correct dilution ratio as per manufacturer’s directions.
- Apply the disinfectant solution to the floor with an automatic scrubber or mop and bucket. WAIT the appropriate time as directed by the disinfectant label.
- AFTER prescribed dwell time, pick up excess solution with automatic scrubber, vacuum or mop and dispose of used solution.
- Clean out your automatic scrubber or mop bucket and let it air dry after disinfecting the floor.
Disinfection Services NYC by Advantage Cleaning
Commercial Disinfection Service NYC >>
Critical Touch Points
Identification and confirmation of critical high-touch surface disinfection objectives establishes a baseline for a successful disinfection program. Programs tailored to specific facility types, focus shifts to prioritizing ongoing infection control maintenance. Make sure not to miss these points each time you’re disinfecting your facilities.
All reachable hard, non-porous surfaces can be disinfected, but critical touch points should be paid special attention. Refer to the facility maps below to ensure that each critical touch point was disinfected in step three.
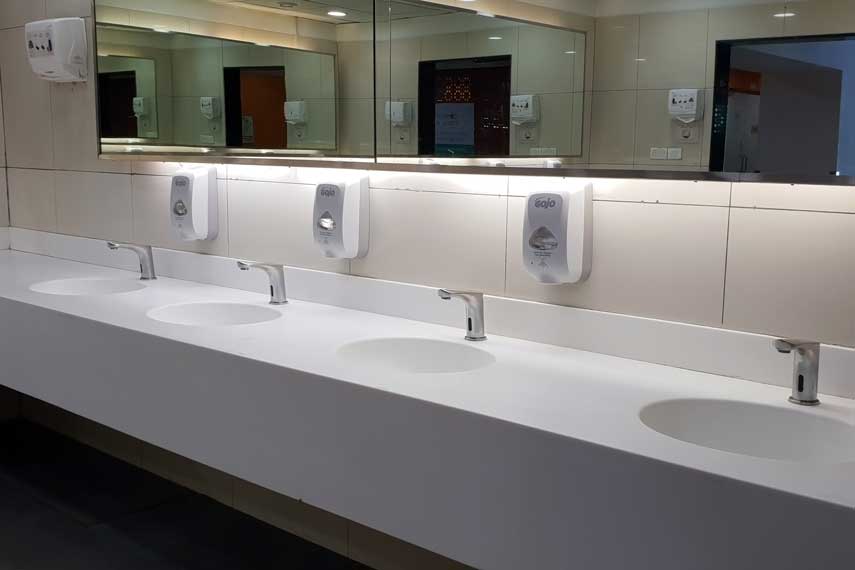
Restroom Touch Points
- Light Switches
- Door Handles
- Trash
- Recycling Receptacles
- Sinks & Sink Fixtures
- Toilets
- Urinals
- Changing Stations

Conference Room Touch Points
- Chairs
- Light Switches
- Door Handles
- Computers
- Tablets/Touch Screens
- Tables
- Trash
- Recycling Receptacles
- Television Remotes
- Televisions Monitors
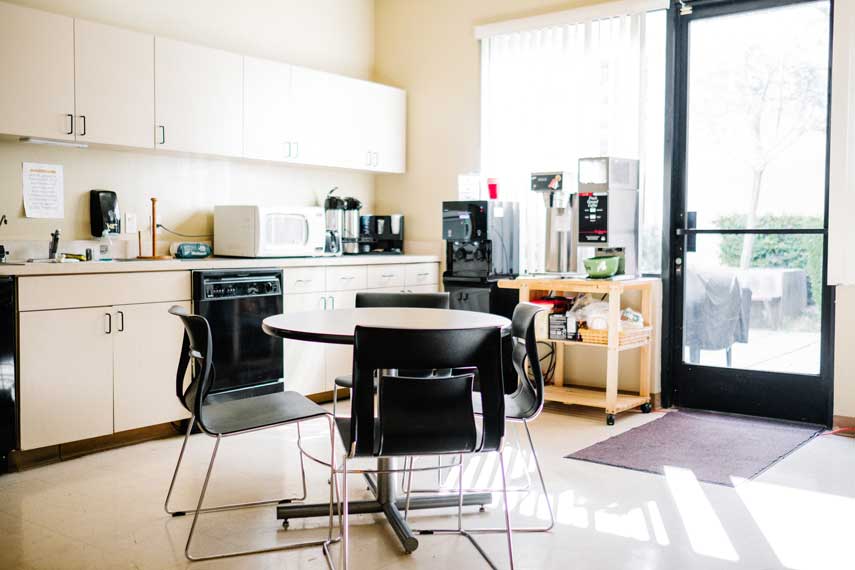
Kitchen and Break Room Touch Points
- Chairs
- Light Switches
- Door Handles
- Tables
- Trash
- Recycling Receptacles
- Sinks & Sink Fixtures
- Cabinet Handles
- Food Contact Surfaces
- Utensils
- Coffee Pots
- Drawer Handles
- Refrigerator Handles
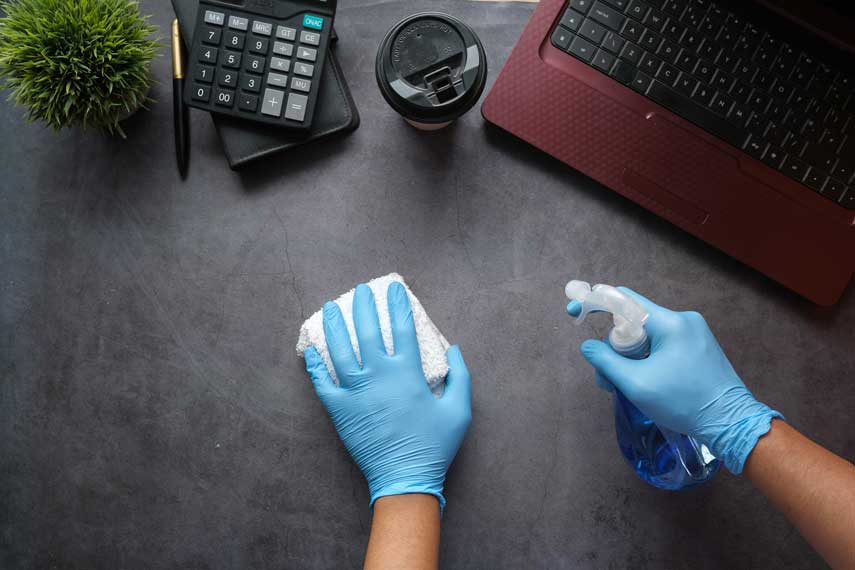
Office Touch Points
- Telephones
- Desks
- Chairs
- Light Switches
- Door Handles
- Computers
- Tables
- Trash
- Recycling Receptacles
Documentation of Tasks Performed
Documentation and communication of disinfecting your facilities provides reassurance to your employees, customers, and vendors that enhanced disinfection was completed according to the highest industry standards. A great way to accomplish this goal is post wall signs with sanitation expectations, certifications and instructional classes.
Let us help you disinfecting your facilities!
If you’d like professionals to provide disinfecting services for your facilities, we’re happy to give you an estimate. Just schedule your free site assessment and we’ll visit you on a date and time of your choosing.
